Weather Settings
The weather settings menu is used to change the weather visuals and the position of the sun. The weather settings are strictly visual, and will not affect simulation results in any way.
Accessing Weather Settings


Saving Settings

Press the Apply in 5s to apply settings in 5 seconds or press the Apply button to apply settings immediately.
Note
Please note that the “Auto apply” button must be in “Off” position for this button to be available.
General Settings
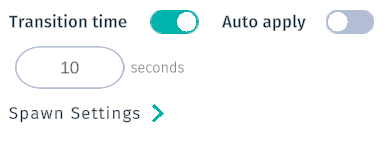
When the Transition time toggle is in “On” position (default), transition will blend between old and new value in the duration of the specified time.
Toggle the Transition time to the “Off” position to instantly change between settings when pressing the Apply button.
Toggle the Auto apply button to have settings auto applied after each adjustment in the ocean settings.
Tip
Setting a long Transition Duration can greatly enhance a video recording, for example by an increas in wind speed over time.
Sun Position

The Sun position connected to time and date checkbox gives you the option to connect the sun to your date and time on the Timeline or position the sun Azimuth and Direction manually.
State
Function
Default
Checked
Sun and shadows behave realistically when playing the timeline in your simulation
Unchecked
Sun and shadows are controlled by moving the Sun’s
AzimuthandDirectioncontrolsYes
Manual Sun Position
Sun Azimuth
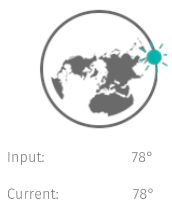
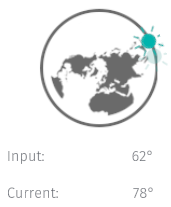
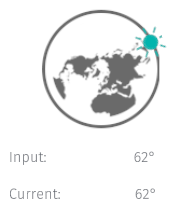
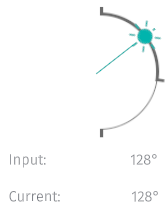
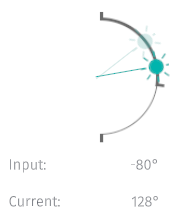
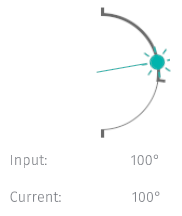
Figure 1 shows the current azimuth position at 78°. Drag the sun to the desired azimuth. The previous applied azimuth is illustrated by a faint blue sun and the Input value as shown in Figure 2. After the the new azimuth is applied, the sun and values represents the current azimuth as shown in Figure 3.
Unmodified Azimuth |
Modified Azimuth |
Applied Azimuth |
|---|---|---|
Figure 1 |
Figure 2 |
Figure 3 |
Sun Direction
Figure 4 shows the Current sun direction is set to 78°. Drag the sun to the desired direction. The previous applied direction is illustrated by a faint blue sun and the Input value as shown in Figure 5. After the new direction is applied, the sun’s position and values (Input, Current) represents the current direction as shown in Figure 6.
Unmodified Direction |
Modified Direction |
Applied Direction |
|---|---|---|
Figure 4 |
Figure 5 |
Figure 6 |
Weather Effects
Adding weather effects can add realism to a simulated operation, but it can also enhance the realism of a more static scene. Weather effects in combination with sun position can create some stunning visuals.
Clouds
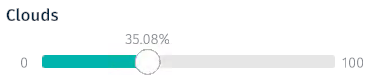
Adjusts how cloudy the scene will be. 100% will cover the sky entirely with clouds.
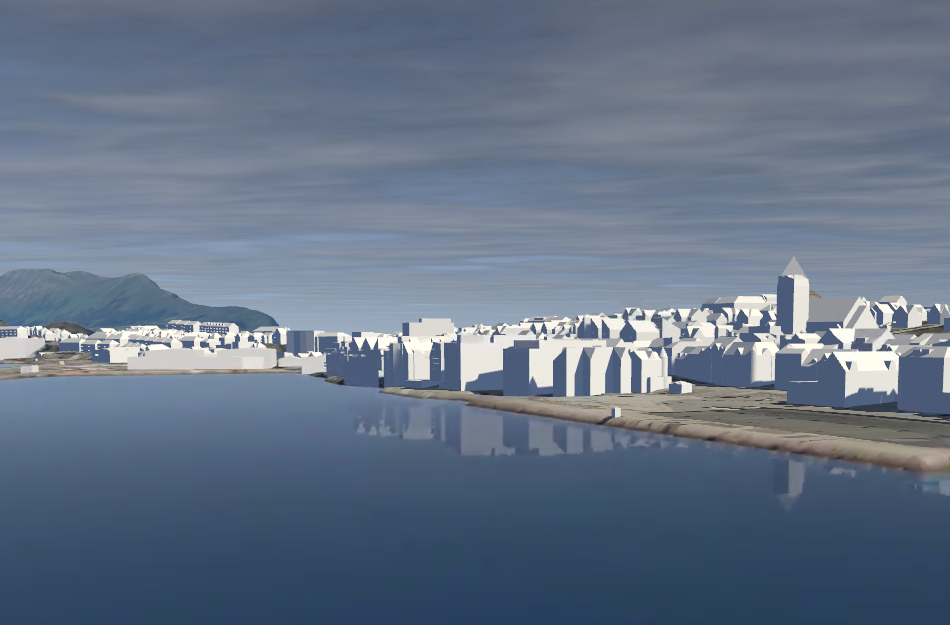
A scene with 35% cloud coverage
Fog
Adjusts the fogginess of the scene. 100% grants a thick fog with only a few meters of visibility.
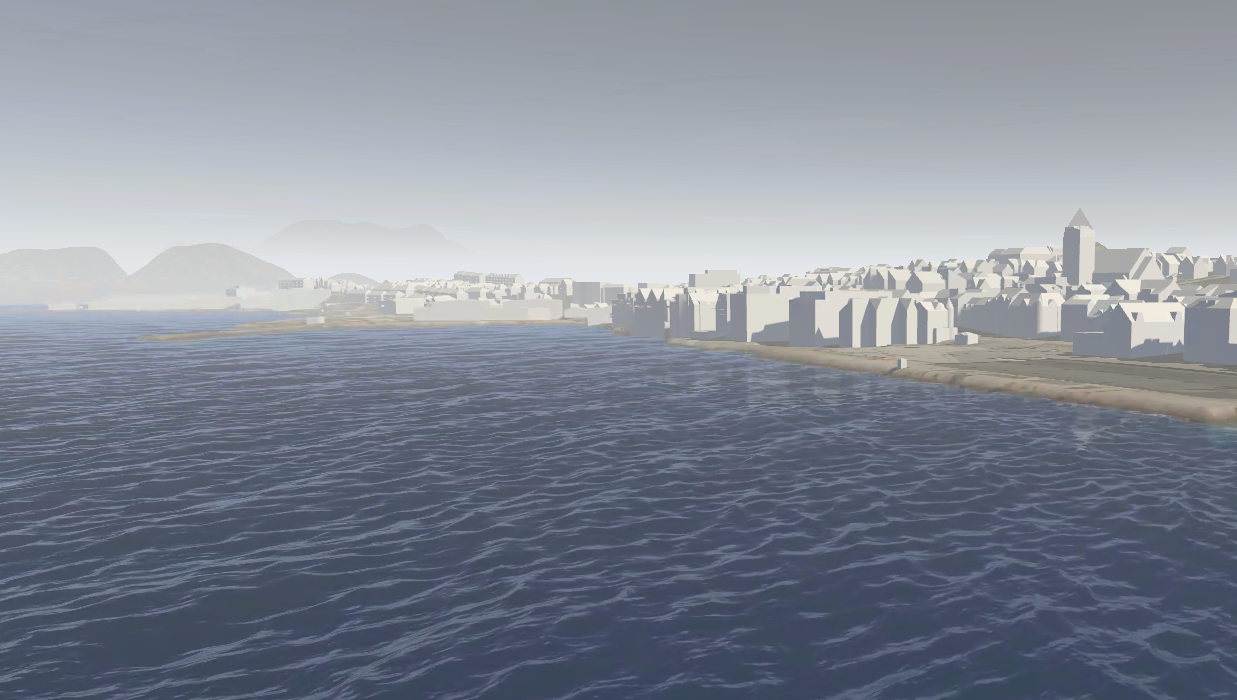
A scene with 25% cloud coverage
Snow
Adjusts how much snow is falling in the scene. 100% is heavy downpour. Please note that snow is not accumulating on the ground.
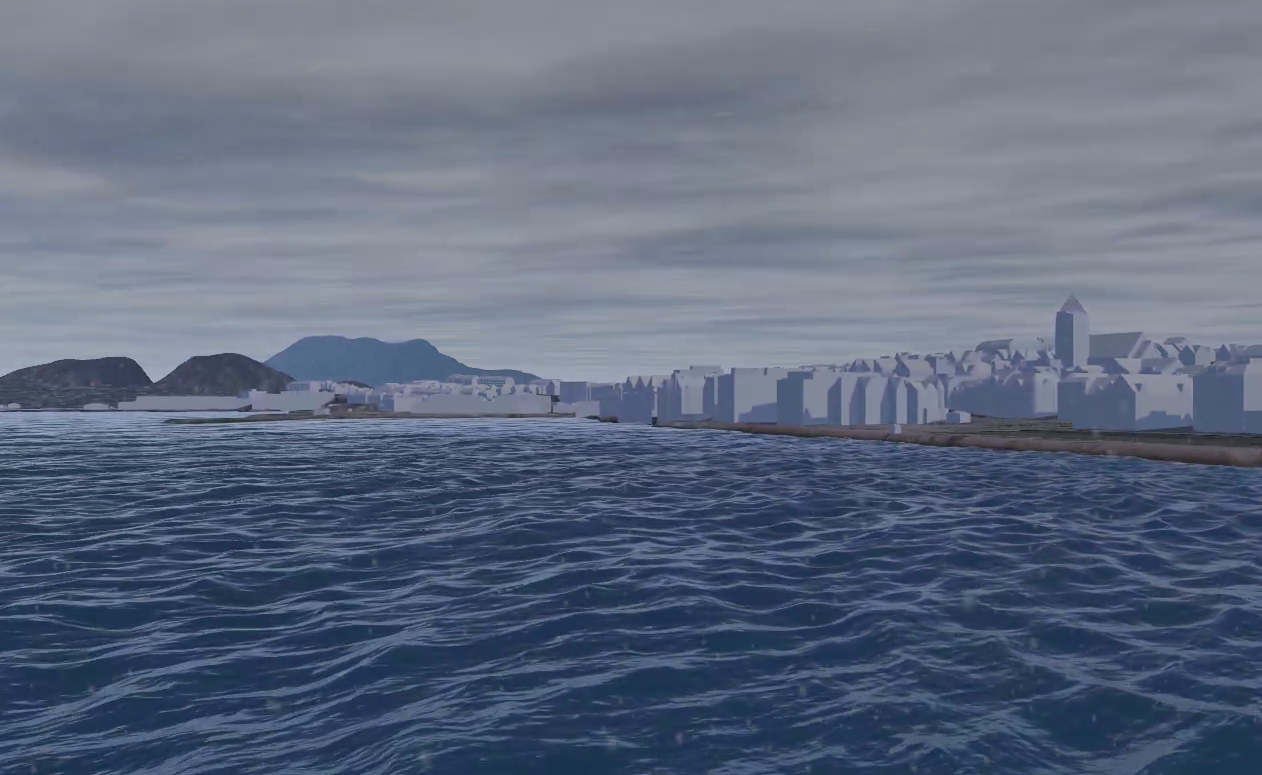
A scene with 100% precipitation in the form of snow
Rain
Regulates how rainy the scene is. 100% is heavy downpour. Please note that rain is not accumulating on the ground.
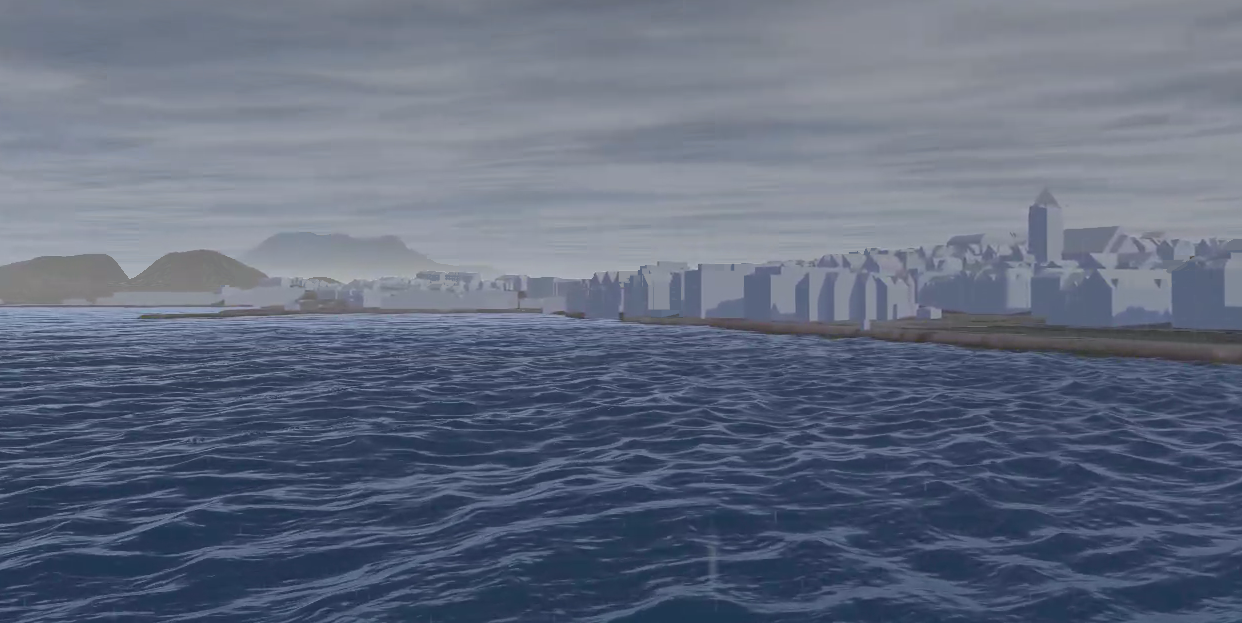
A scene with 75% precipitation in the form of rain. 10% fog is also added for added realism
Weather example
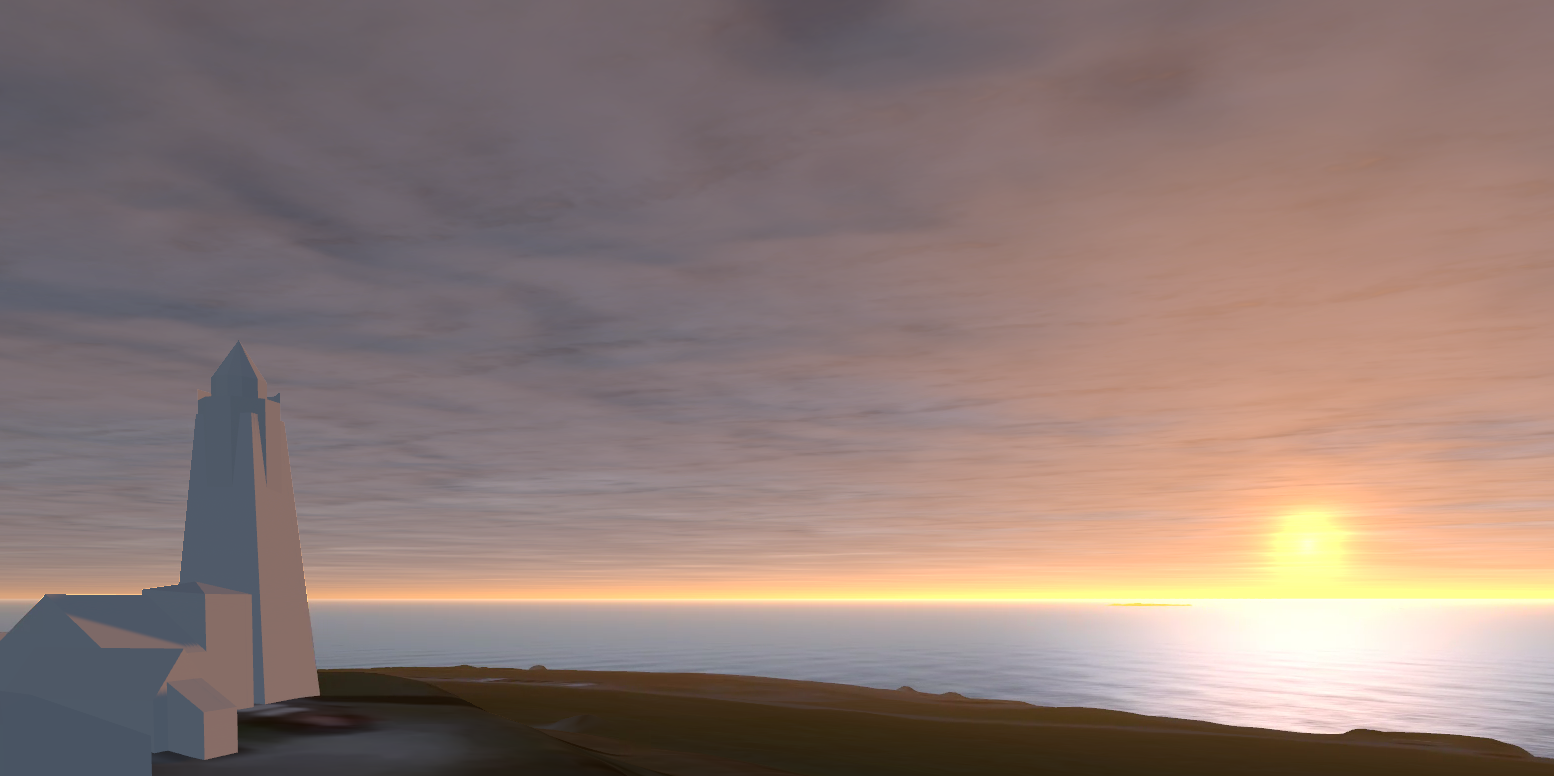
Summer sunset in Alnes.