Asset Library Overview
Assets
Assets managed in the Assets Library are: 3D Models, Scenes, Datasets, and Recordings
All assets are displayed in lists and are ordered by the time the asset was added (newest first). All assets have the asset’s Name and Date, while datasets and recordings also have a Type and Status, as outlined in the table below:
Library |
Name |
Date (Created) |
Type |
Status |
|---|---|---|---|---|
3D Models |
✔ |
✔ |
||
Scenes |
✔ |
✔ |
||
Datasets |
✔ |
✔ |
✔ |
|
Recordings |
✔ |
✔ |
✔ |
Paging
If the list of assets exceed 10 entries, then the following assets are available by using the paging buttons located at the bottom right of the list:

Asset Options
The context menu for an asset is located to the far right of an assets in the file view and offers a variety of options depending on the asset type. Options for each asset type are outlined in the table below:
Library |
Folders |
Download |
Rename |
Move |
Delete |
Share |
Open |
|---|---|---|---|---|---|---|---|
3D Models |
✔ |
✔ |
✔ |
✔ |
✔ |
||
Scenes |
✔ |
✔ |
✔ |
✔ |
✔ |
||
Datasets |
✔ |
✔ |
✔ |
✔ |
✔ |
||
Recordings |
✔ [*] |
✔ |
✔ |
✔ |
✔ |
Press the (...) button to open the context menu for an asset.
Searching for Assets
Use the search box located at the top right corner to quickly find your asset. Simply start typing in the box to filter assets that matches your input string.

Folders
By default, all assets that support folders are added to the Imported folder. The Imported folder has the ability to synchronize new assets to Sandbox without having to restart a session. Additional folders created do not have this feature and is intended primarily as a tool to organize existing assets.
Create Folder

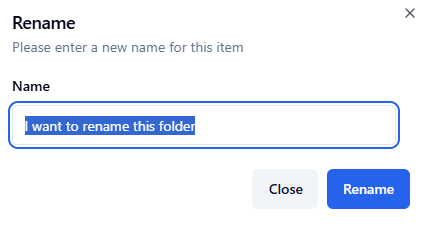
Rename Folder
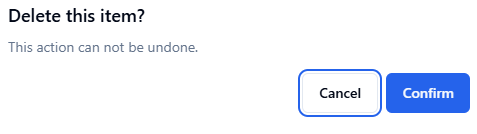
Delete Folder
Sub Folders
Creating sub folders allows users to further organize assets within a folder. Please note that only 1 level of sub folders is allowed at this time.
Add Sub Folder
Select
Create Subfolder`from the list of available options.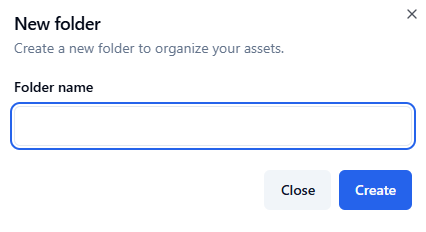
Enter a new folder name in the text field and press
Createto rename the folder. PressingClosewill abort the operation.
Sub folders are displayed under the parent folder in the following manner:

Renaming and Deleting Sub Folders
Renaming and deleting sub folders follow the same procedure for top-level folders as described above.