Constraints
A constraint in Sandbox is a connection with restricts or limits. Connections can be made between solid bodies and dictate how objects can move relative to each other. Constraints can be adjusted and tuned to act as close to reality as possible.
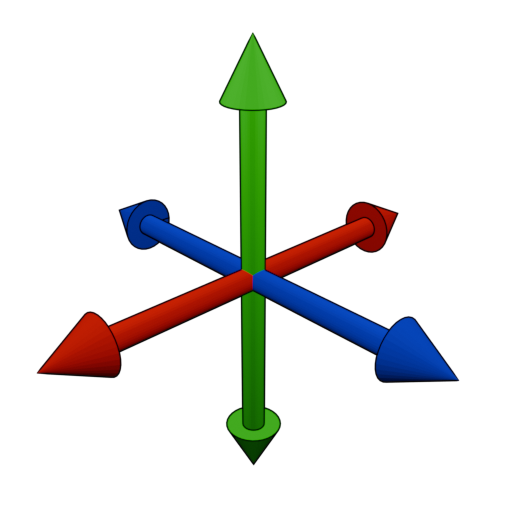
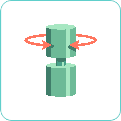
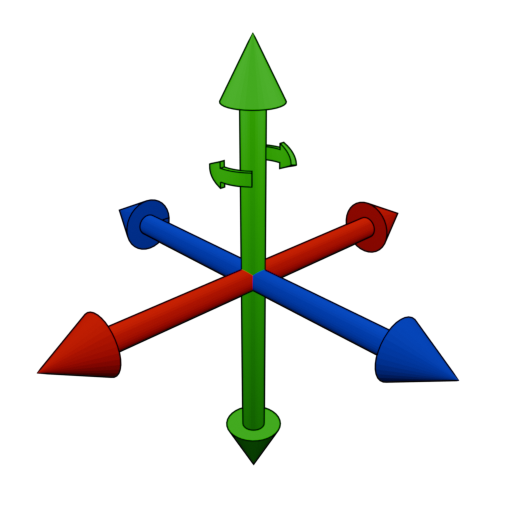
The figures below show translational and rotational degrees of freedom (DoF) available for hinges. Different hinges have any combination of these freedoms removed to make it suitable for various purposes.
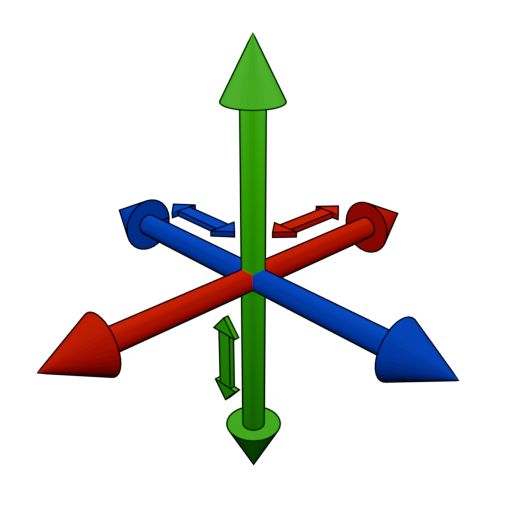
Figure A: 3 translational degrees of freedom (DoF) |
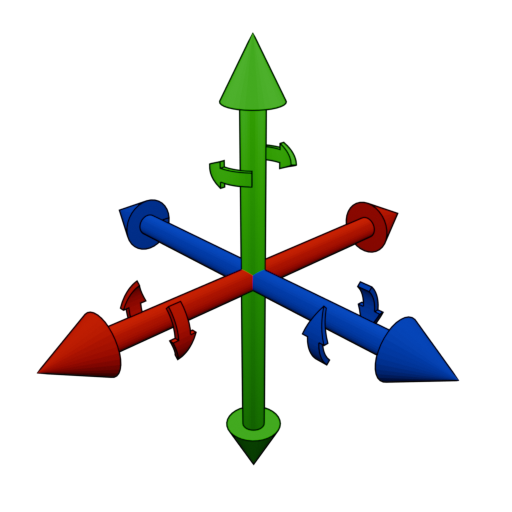
Figure B: 3 rotational degrees of freedom (DoF) |
Constraints available in Sandbox
Lock Joint
|
Lock joint will lock all 6 degrees of freedom of an object. It will be locked and not able to slide, rotate or move in any way. Unless compliance is adjusted.
|
|

Ball Joint
|
Ball joint will act as a position lock, and disable movement in X, Y and Z directions, but still allow for rotation around origin.
|
|
Hinge
|
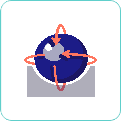
Hinge will lock the object in X, Y and Z direction, but still allow for rotation around the Z axis like a hinge.
|
|
Prismatic
|
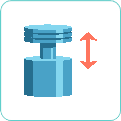
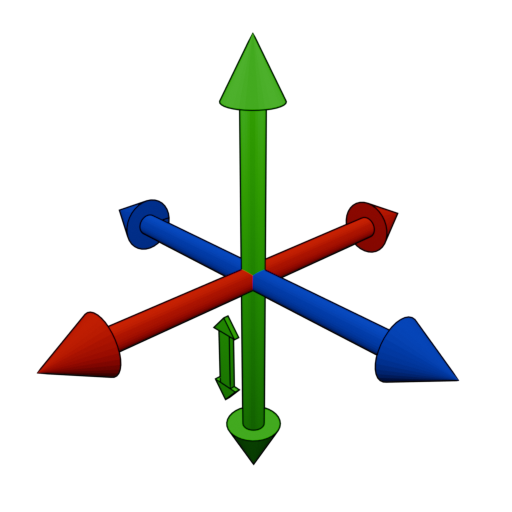
Prismatic constrain will lock all rotation and movement along the X and Y axis but still allow for sliding along the Z axis.
|
|
Ring Constraint
|
Ring constraint works like the hinge constraint, but there are no male and female types. The ring constraint can be connected to any other.
|
|

Adding Constraints
Note
Always position/rotate the rigid bodies involved in a constrained system to their desired positions before attaching them to a constraint.


A window of available constraints will appear:
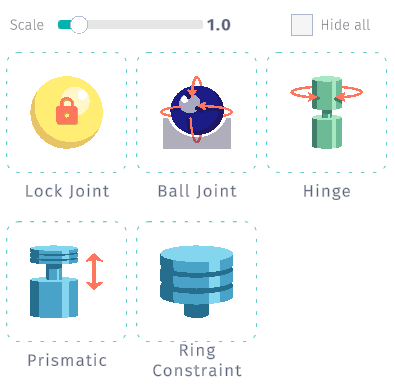
After selecting one of the available constraints types you are presented with a pair of constraint nodes. One of the nodes will be controllable if the selected constraint type supports it. The controllable constraint node should be placed on the object that should have motion.
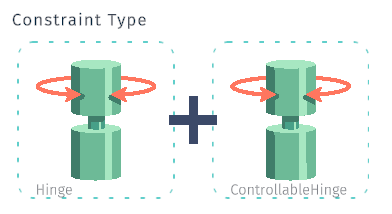
A hinge constraint has a controllable element. Please refer to the list above for available constraints and their properties.
Select the desired constraint and then drag and drop both of the constraint nodes to the objects that will receive the constraint. It is important to drag and drop the constraint nodes on to the correct parenting object. The controllable constraint (to the right in menu while placing) should be dropped and assigned to the object that will be moving. The controllable constraint will be indicated in red (as illustrated in figure to the right below) and can be selected and further manipulated in the right-hand menu.
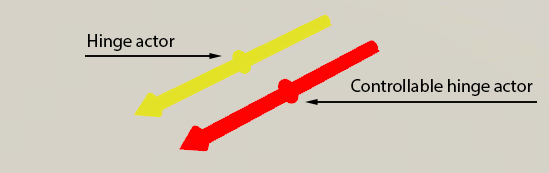
Controllable constraints will appear in red, while non-controllable constraints will appear in yellow.
Aligning Constraints
All directional signifiers need to align and correspond. Click the align button in the left menu before connecting to make sure the constraint will work as intended. With hinges, for example, place the controllable hinge
 on the object that should have motion and place the other non-controllable hinge
 on the static object. Then make sure the controllable hinge is placed correctly for the desired motion. When in place, select the non-controllable hinge and click the
 Align button
 located under the controllable hinge actor. Compliance can be set during setup
 , or later under the
 Input ports section in the properties panel
 . After the constraints are aligned, they can be added to the scene by clicking the
 Connect button
 . Constraints can be removed before they are connected by clicking the
 Delete button
 located under each constraint. If unsure which constraint is selected, refer to the properties panel located on the right which will have the selected object’s name
 at the top.
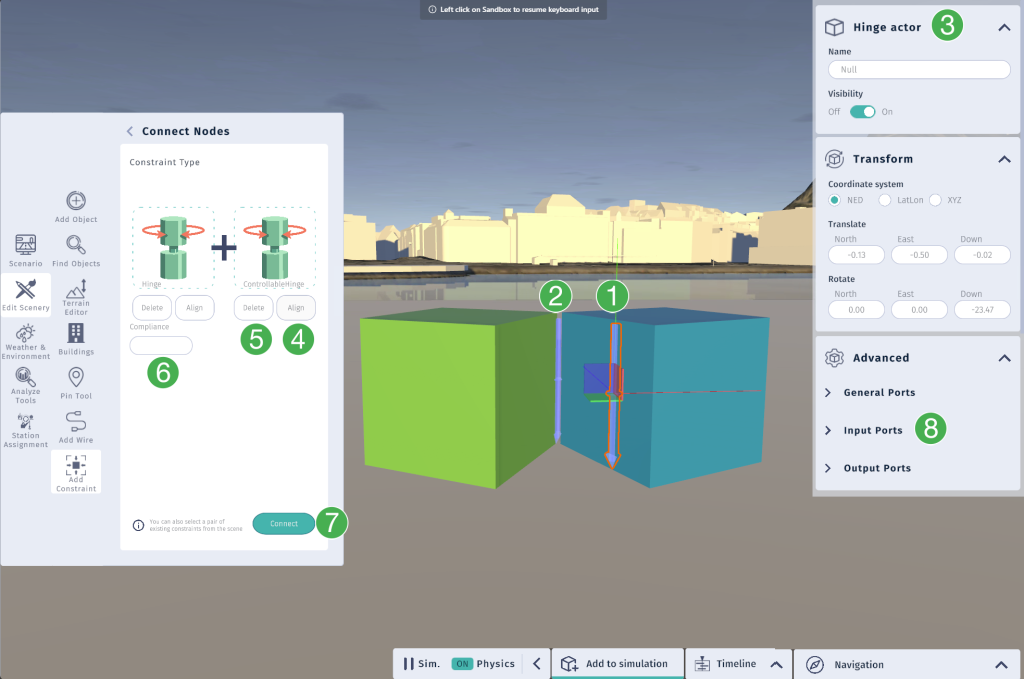
Click to enlarge
Constraints Scaling and Visibility
The scale and visibility of constraints can be adjusted in the constraints menu:

Adjust the size of constraints in the scene by moving the slider left or right.
Set the visibility of constraints in the scene by toggling the checkbox.
Keep in mind that these settings affect all constraints in the scene. Holding C + scrolling the middle mouse wheel
 will also adjust the scale of the constraints.
Example: Using Ring Constraints to connect a rigging arrangement to a hook
The video below demonstrates how to add ring constraints to a hook and a rigging arrangement and how to connect them by using the context menu of the constraints.
Helicopter flight mode was added in version 4.20.0.