The Pin Tool
The pinning tool can be used to create pins in the scene. Pins are large markers that scale based on distance, making them easily findable landmarks. Pins are also a great way to travel long distances in a scene.
Accessing the Pin Tool


Dropping a Pin

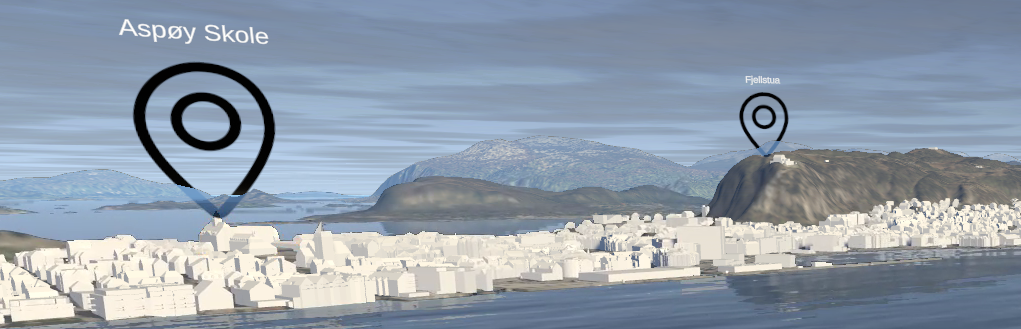
Pin List
Click “Pin List” to display all pins.
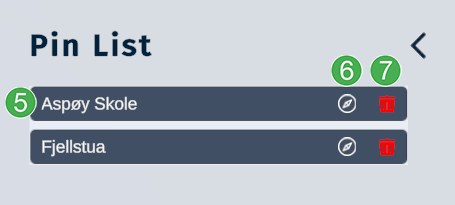
List of all pins created in a scene. Click on the name to edit the name of the pin.
Click on the compass to instantly move your camera to that pin’s location. This makes for an easy way to navigate a scene.
Click the red trashcan to delete a pin from the scene.
Comments as Pins
After a pin is dropped and named, comments can be added by clicking on the pin. After the pin is clicked, then the following panel will appear from the session menu on the right side of the screen:
Enter your message in this text field.
Press the “Send” button to add the message to the pin.
The message will appear in this area.
Press the magnifying glass to search the comments.
Edit the pin details:
Example of comments and image in a “Comments as Pins” section:
Tip
Click the X to close the comments as pins section. Alternatively, click the blue pin icon in the session menu to close the panel.